How to Solve XTOOL X100 Pro2 No Application Problem?
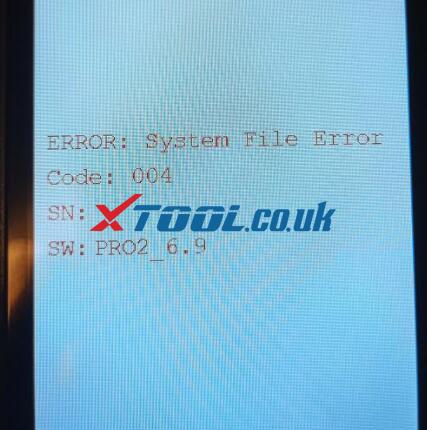
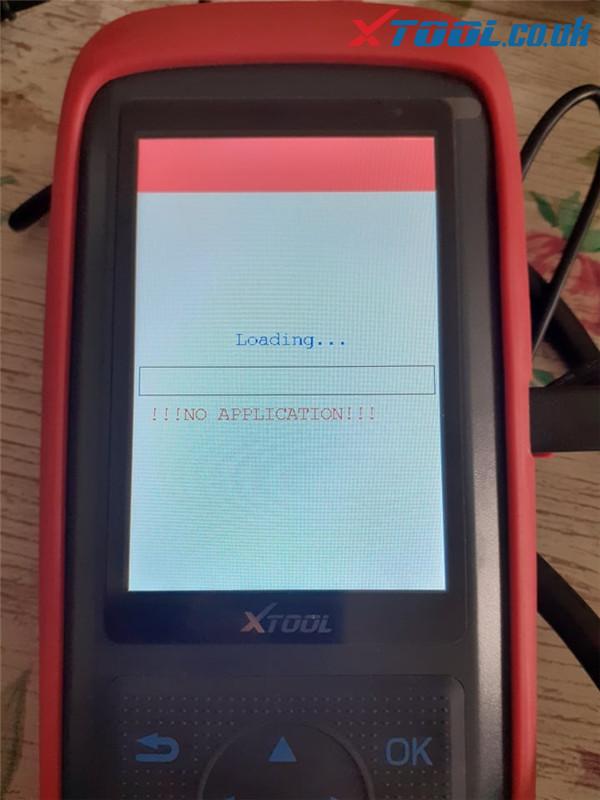
When XTOOL X100 Pro2 auto key programmer appears “No Application” error, or Blank screen, “Fail to Connect”and”System File Error” automatically return to the home screen. how to do? Don’t worry! Just follow the solution offered by xtool.co.uk engineer to fix.


Step 1: Please connect X100 Pro2 to your laptop by type-c cable to format and delete all files on SD card
Step 2: Uninstall the software and download it again from Xtool official website: http://down.xtooltech.com/misc/Xtool_Upgrad(TP150_TP200_X300P_X100PRO2_X100SUPER2)v1.0.1.5.rar
Step 3.Disconnect the cable and reconnect the cable. It is Done!
Click here to see the upgrade details.
Here also attach video for watching clearly.
Add info: How to Format TF Card?
Method 1: Directly Format the TF Card via Explorer
You might already know about this technique as it is commonly used to format TF and SD cards. In this, we will take the assistance of Windows Explorer to format the card in a preferred file system.
- At first, just insert your TF card into an SD card jacket and connect it to your Windows computer.
- Now, go to its Explorer > My Computer or This PC to find the connected TF card under the External device section. Simply right-click its icon and choose to format the TF card.
- Once the dedicated formatting window will open, you can select a preferred file system or partitioning style. Click on the “Start” button and wait for a while as it will wipe your SD card.

Method 2: Format a TF Card via Disk Management
Apart from the Explorer, you can also take the assistance of the Disk Management application to format your TF card. This is an inbuilt Windows application that can manage your disk space and format any internal partition or external device easily.
1. Before you proceed, make sure that your TF card is connected to the system and that it has been detected.
2. Now, go to the Start menu, open the Run prompt, and load the “diskmgmt.msc” command to access it. You can also just look for Disk Management on the search bar adjacent to the Start menu.

3. As the Disk Management application would be opened, you can view the connected TF card storage under the External Devices section. Right-click the storage and select the “Format” option from the context menu.4

4. Here, you can rename the TF card and select the file system or the partitioning style for it. You can also choose to perform a quick format form here.

5. As you would proceed, you will get a warning that all the stored data on your card would be deleted. Simply confirm it and wait for a while as your TF card would be formatted in the selected file system.

Method 3: How to Format a TF Card on Mac
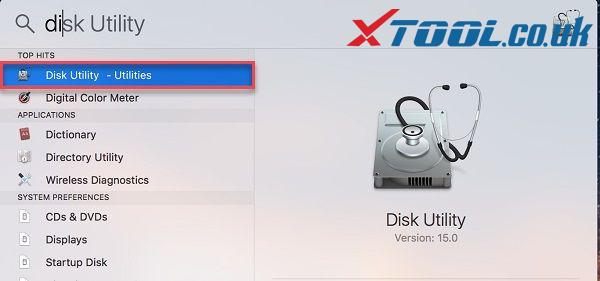
Just like Windows, it is pretty easy to format a TF card on Mac as well. For this, you can take the assistance of Disk Utility, which is an inbuilt Mac application. It can help you format your TF card in different file systems or even repair it (if it is corrupted). Here are some simple steps that Mac users can follow to format their TF card.
1. To begin with, just connect your TF card to your Mac using an SD card jacket and wait as Mac would detect it. Later, you can go to Finder > Applications > Utility to launch Disk Utility or look for it in the Spotlight search.

2. From the sidebar, you can view different partitions and the connected devices. Now, select your SD card (under the External section) and click on the “Erase” button from the right panel.

3. As a dedicated window will launch, you can rename your card and change its file system or partitioning style from here. You can click on the “Erase” button when you are ready and confirm your choice to successfully format the TF card.

